Peanut Butter Blossoms
Post contains affiliate links.
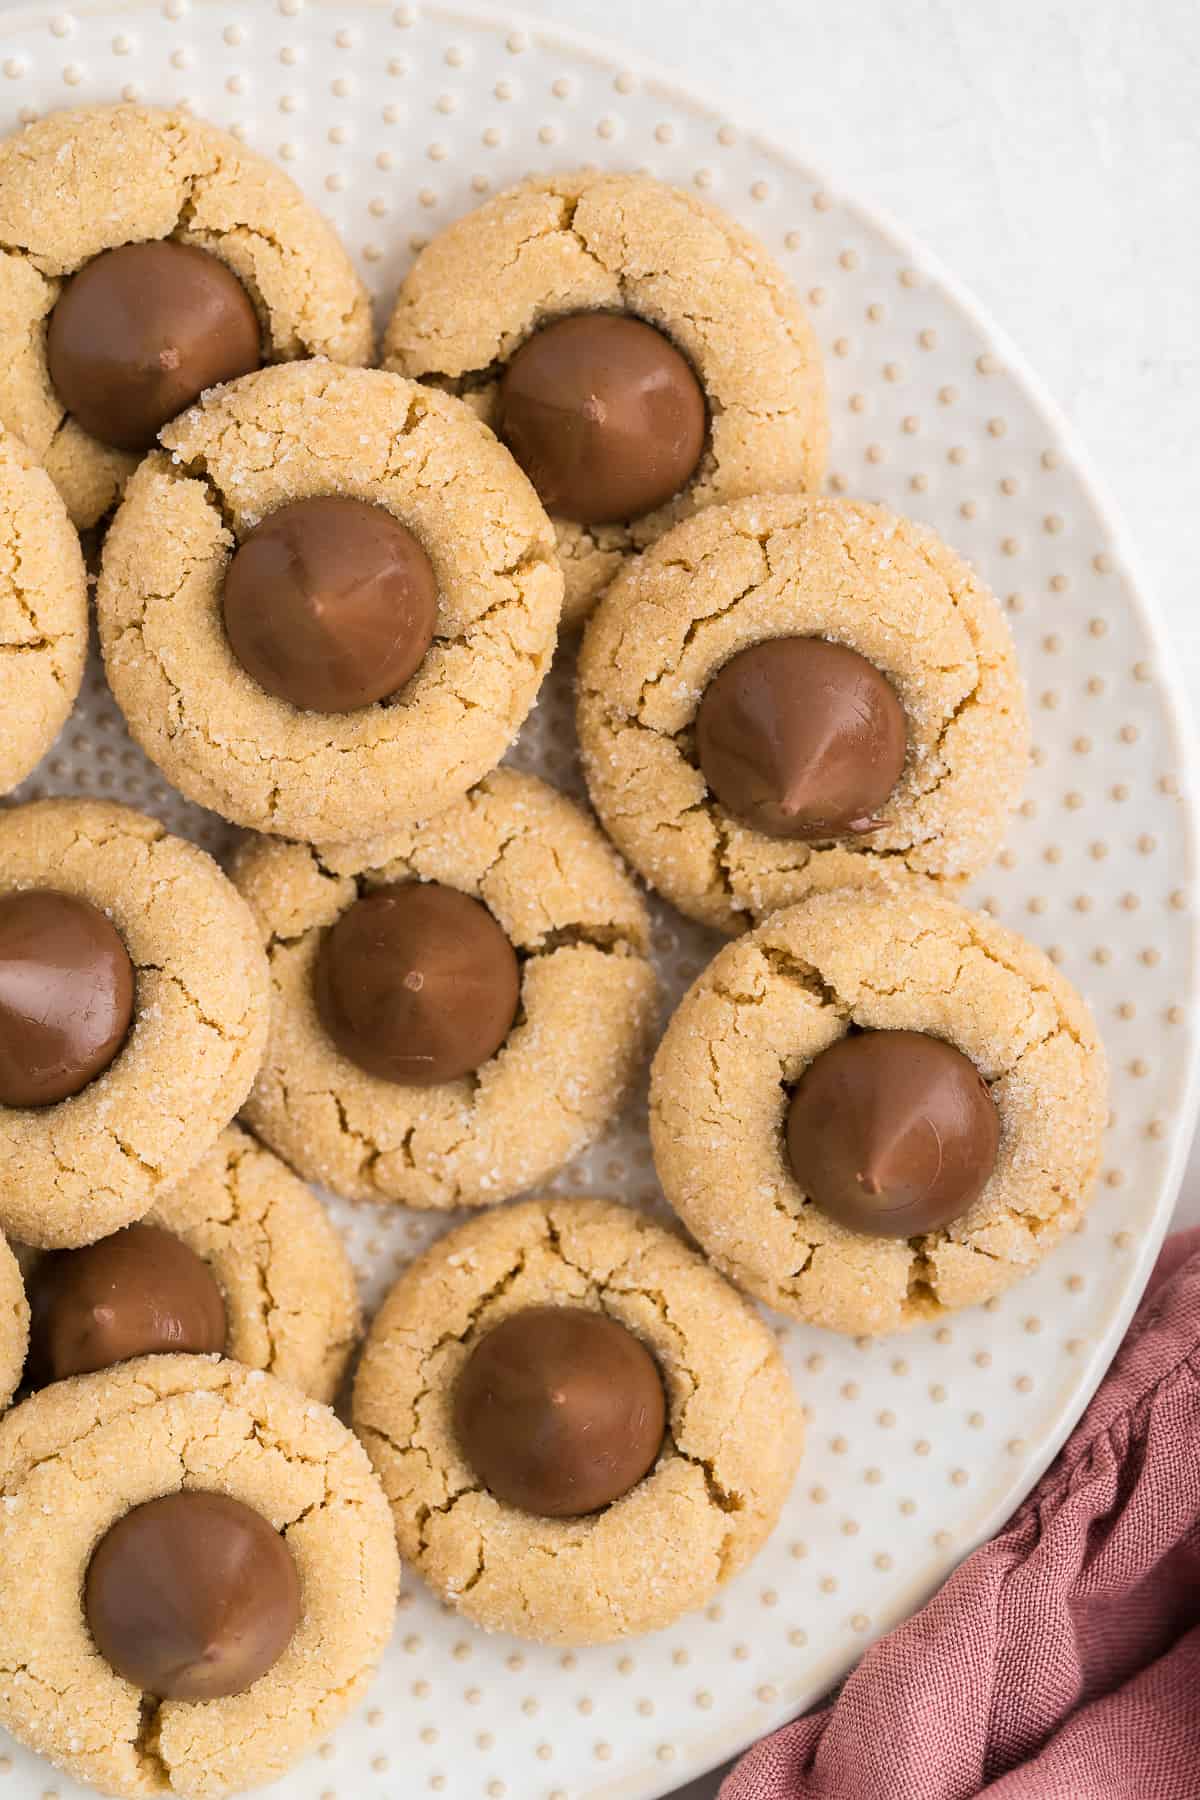
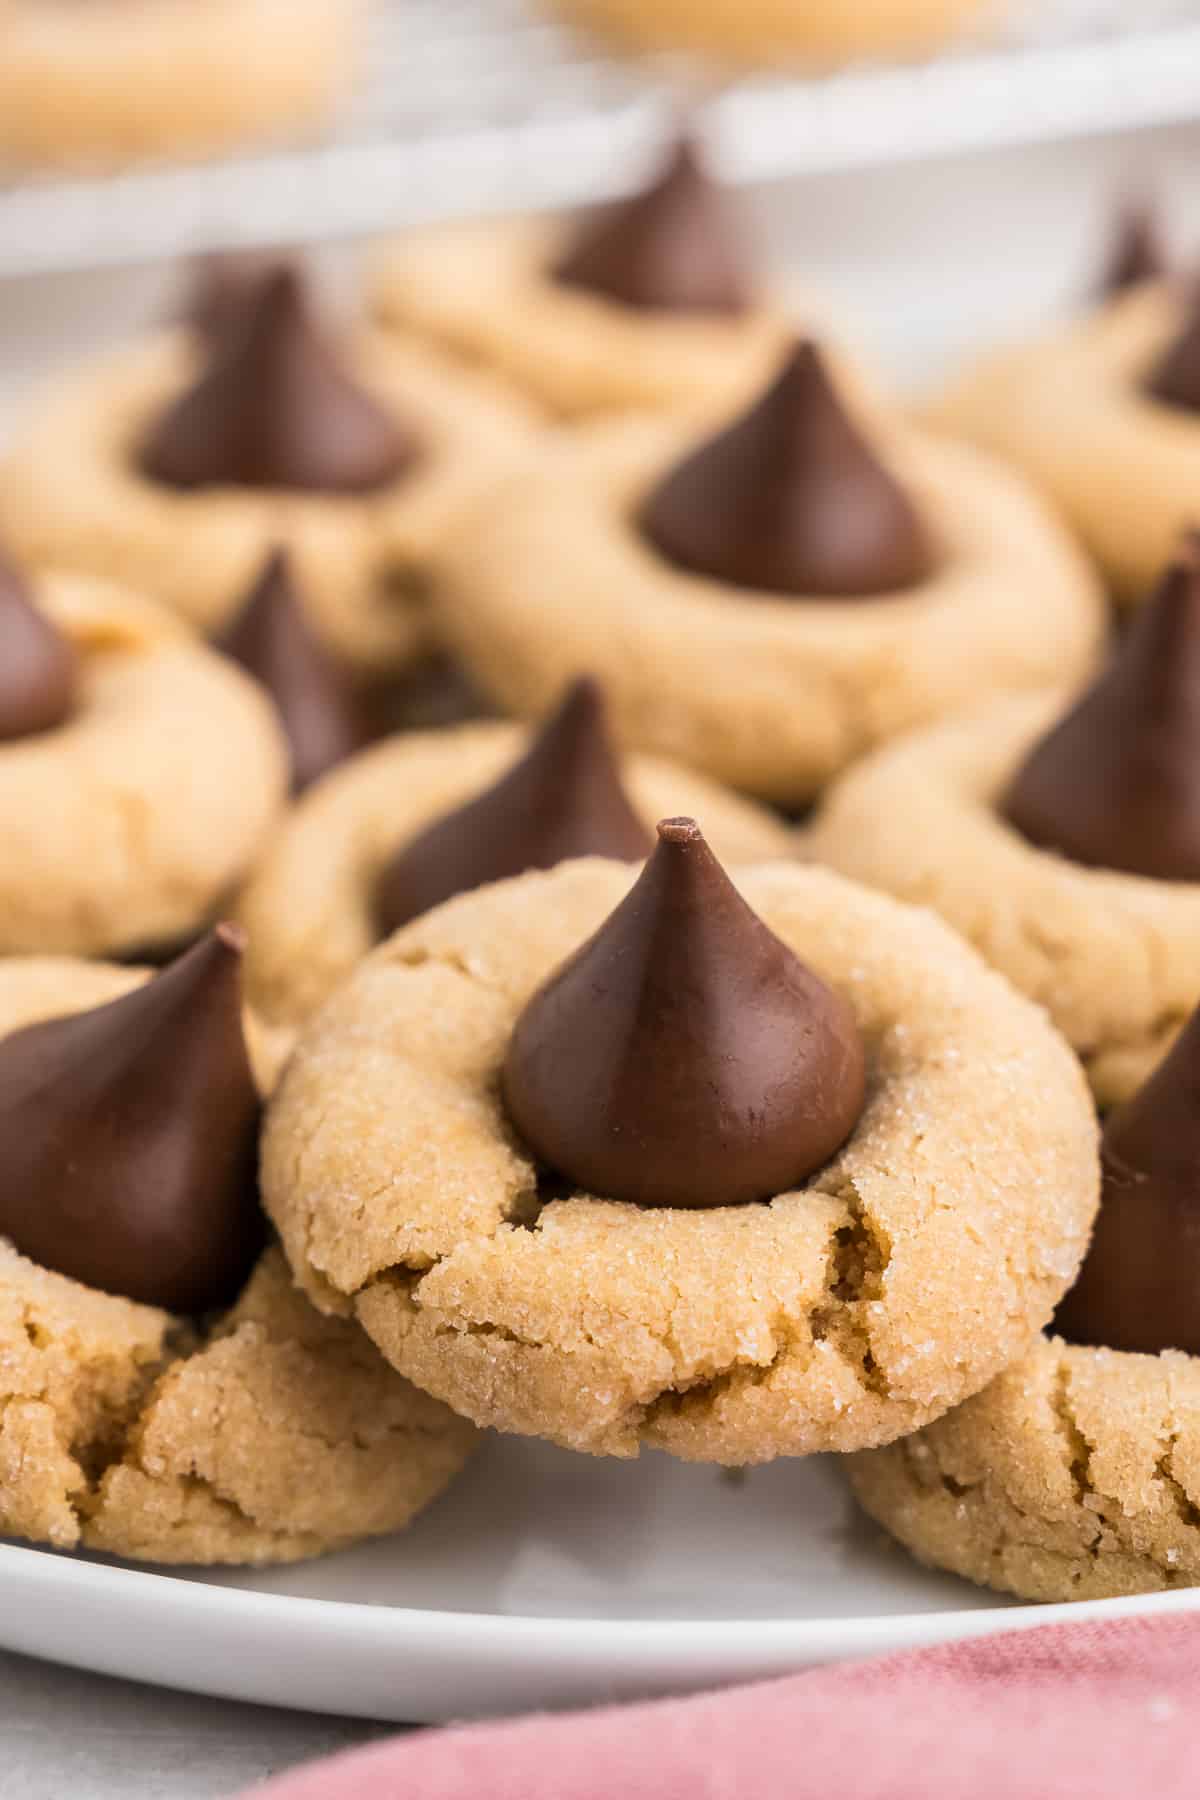
What’s soft, chewy, and full of chocolate flavor? Classic Peanut Butter Blossoms, of course! If you’re hunting for the best peanut butter blossom recipe that’s not only delightful but also reminiscent of your childhood, you’re in the right spot! This is an easy peanut butter blossom cookie recipe straight from the back of the Hershey’s Kisses bag.
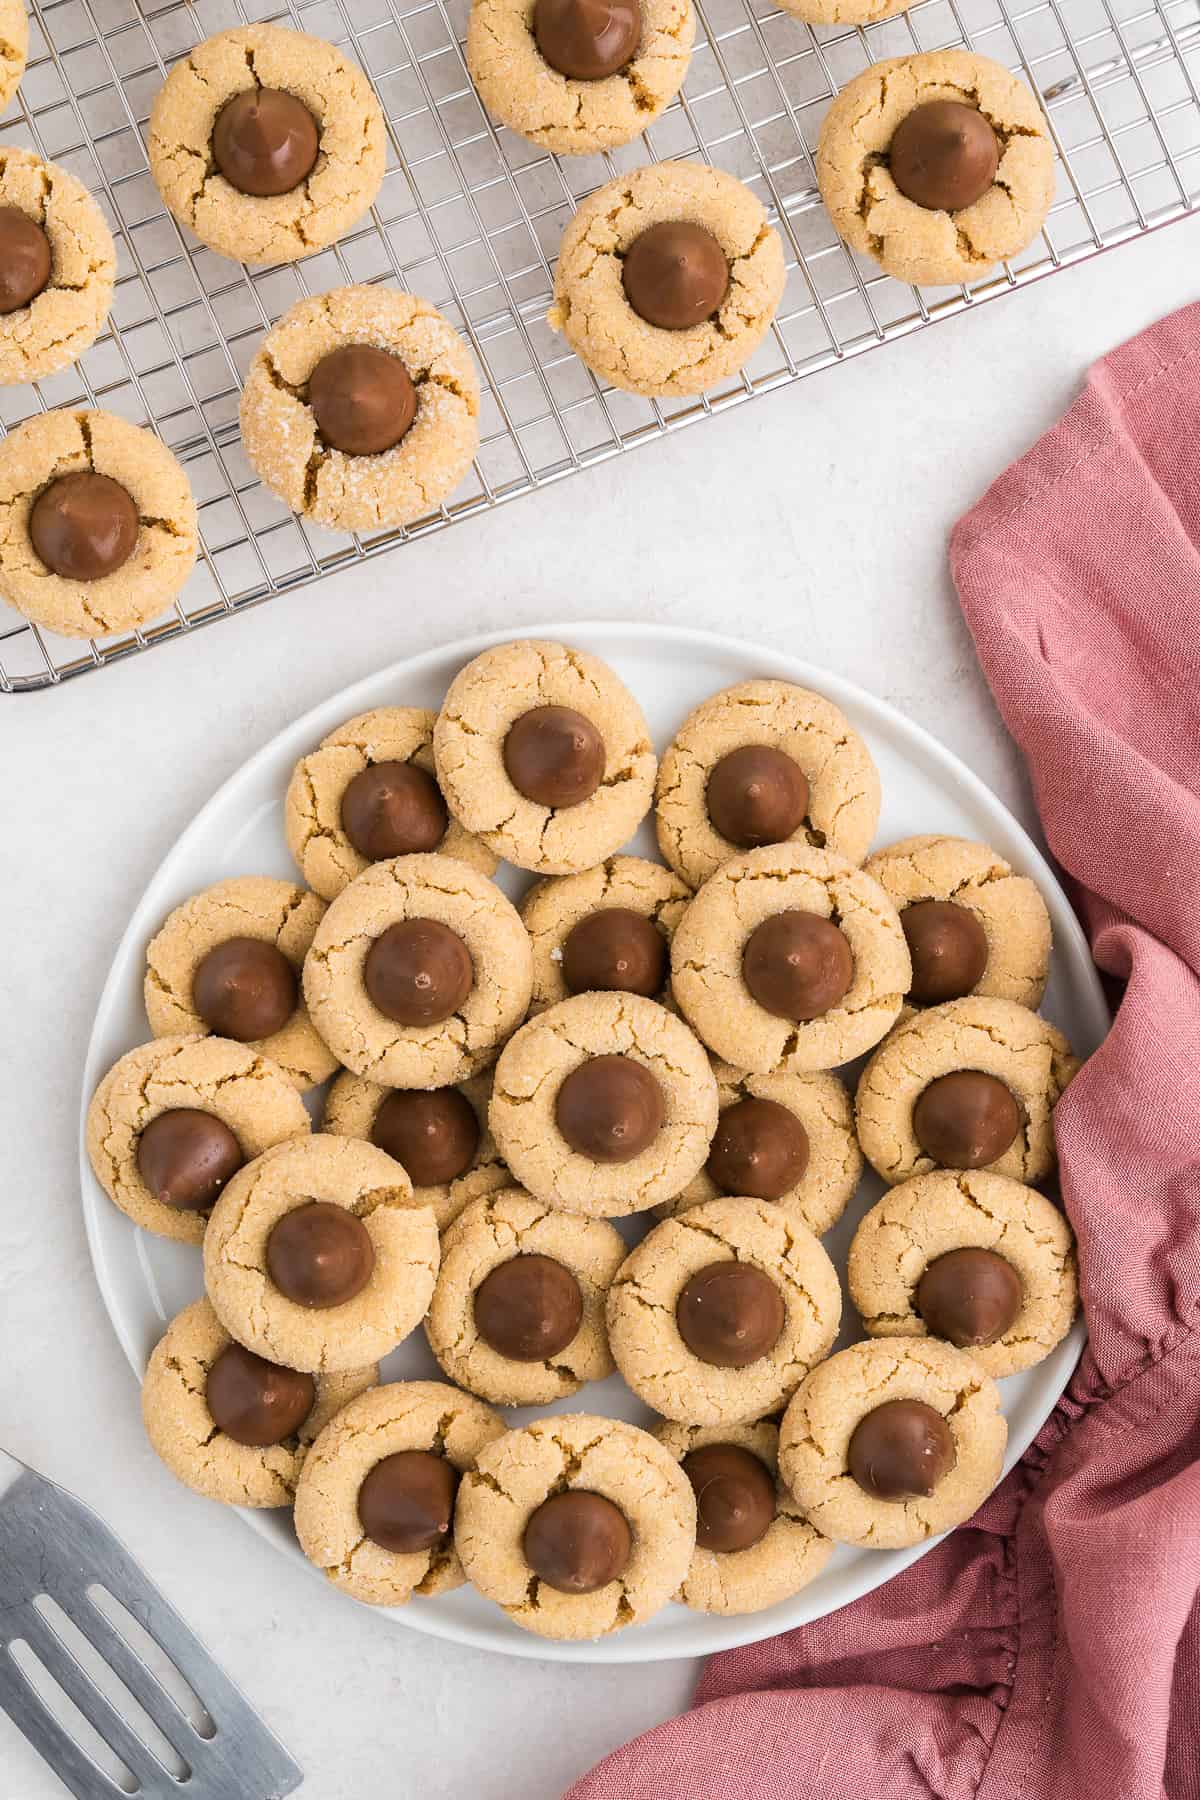
How to Make Peanut Butter Blossoms
This delicious Christmas cookie recipe is loaded with all the best ingredients. For the best results, be sure all of your ingredients are fresh.
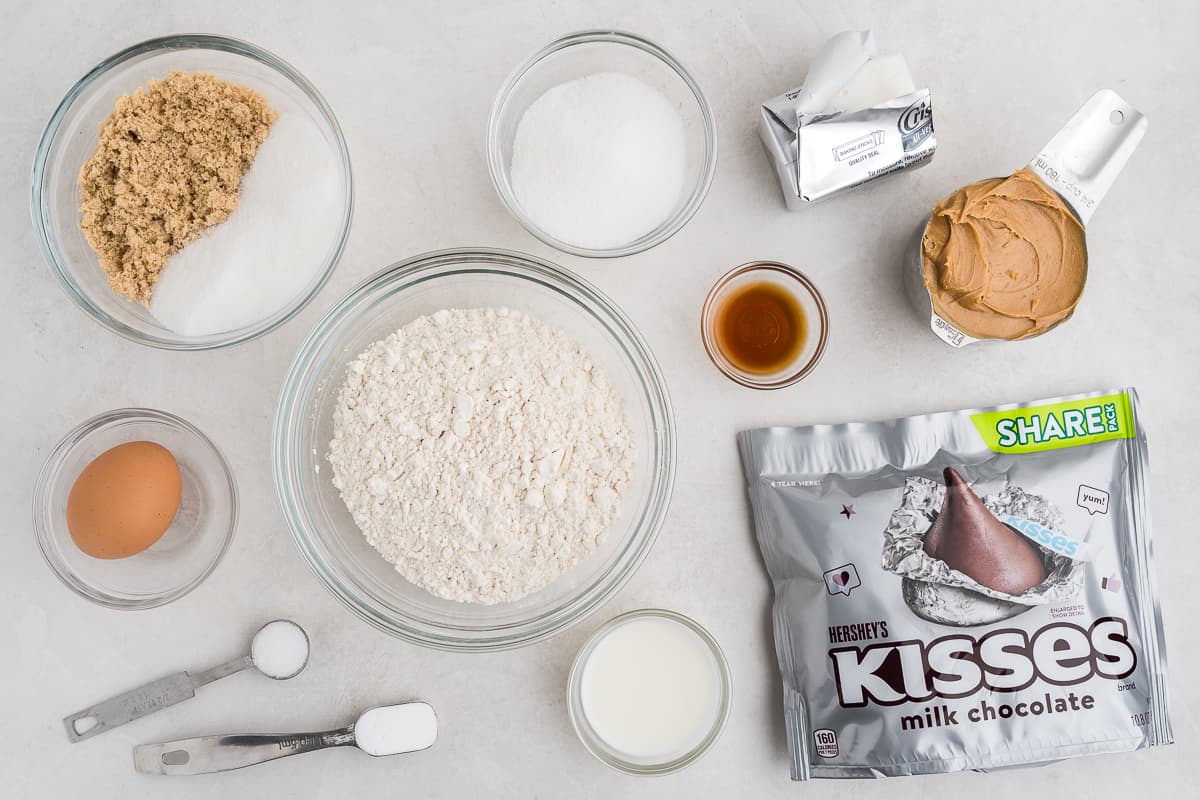
For a full list of ingredients, see the recipe card at the bottom of the post. Here’s a little taste of my favorite ingredients from this recipe.
Key Ingredients
- Hershey’s Kisses Milk Chocolates: The star of our peanut butter blossoms. These iconic milk chocolates offer a creamy melt-in-your-mouth experience that pairs exquisitely with the cookie base.
- Creamy Peanut Butter: This is the heart of the recipe, offering that rich, unmistakable nutty flavor.
- Granulated and Light Brown Sugar: This sweet duo not only offers the right sweetness but also provides a hint of molasses, giving depth to our cookies.
- All-Purpose Flour: This works silently in the background, offering structure to our cookies and ensuring a soft, chewy texture.
After printing the recipe and gathering your ingredients, you’ll be ready to whip-up these easy peanut butter blossoms.
Method
Step 1: Kick things off by preheating your oven to 375°F. As that’s warming up, take a moment to unwrap the Hershey’s Kisses chocolates. This step might seem trivial, but it ensures smooth sailing later on.
Step 2: In a medium-sized bowl, whisk together your flour, baking soda, and salt. This combination will be your cookie’s foundation.
Step 3: In a larger bowl, blend together the shortening and peanut butter until they’re singing in harmony. Add in 1/3 cup of the granulated sugar and your light brown sugar. Beat this mix until it’s light and fluffy. Now, introduce the egg, milk, and vanilla to the party and mix well. Gradually blend in the dry ingredients you prepared earlier.
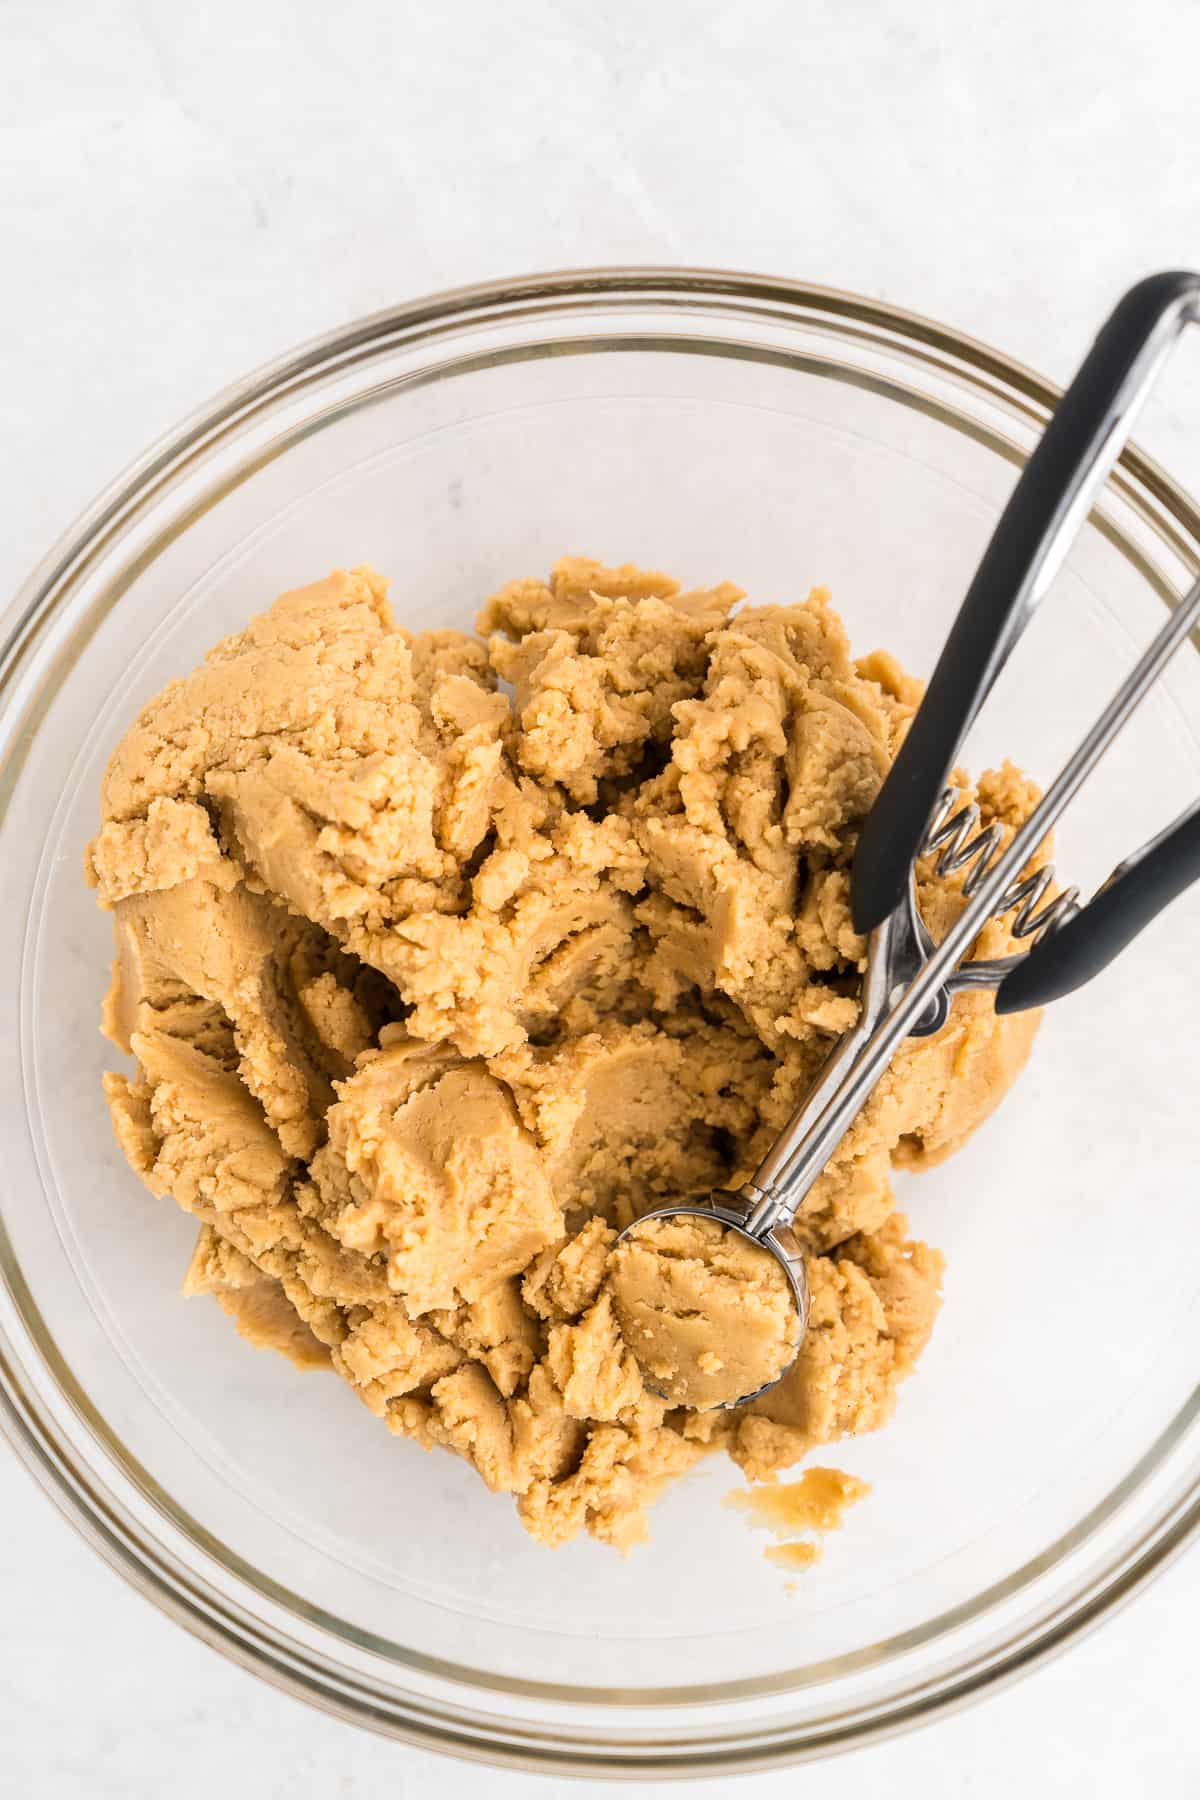
Step 4: Now for the fun part! Shape your dough into 1-inch balls and roll them in the remaining ⅓ cup granulated sugar. Lay them on an ungreased cookie sheet, ensuring each has its personal space.
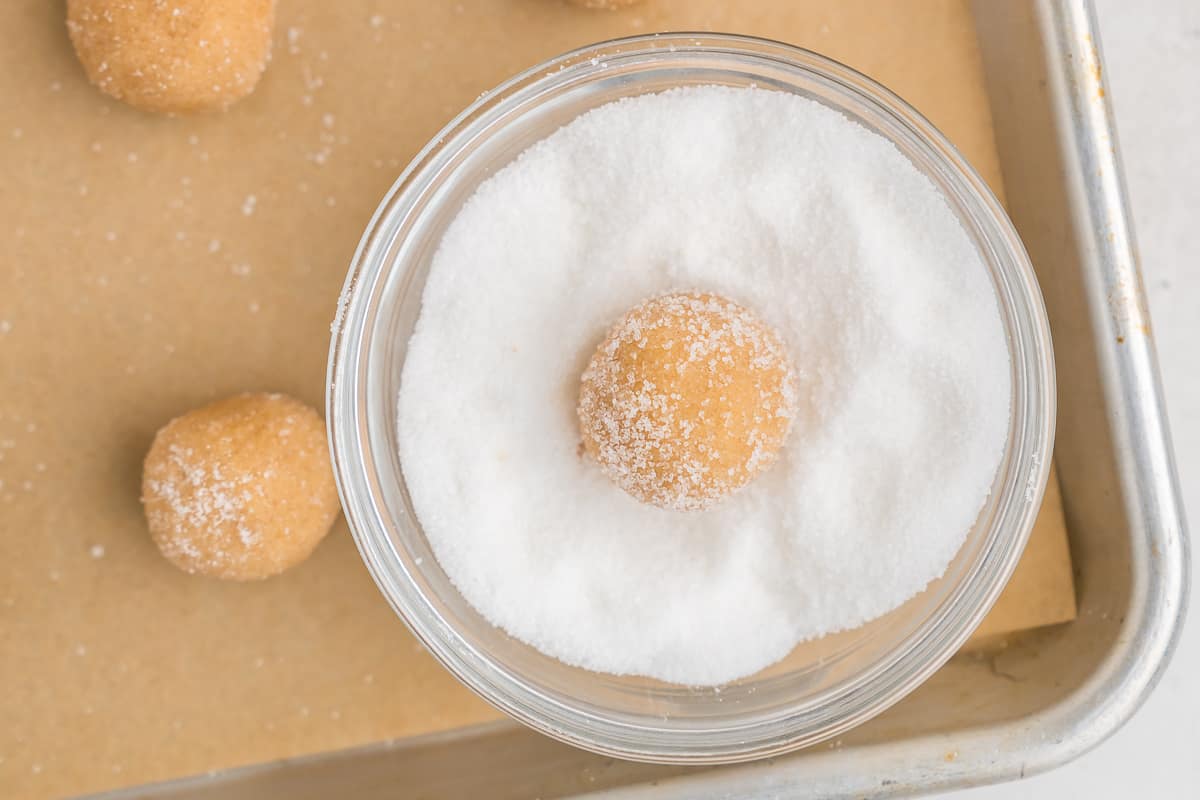
Step 5: It’s baking time! Pop those cookies in for 8 to 10 minutes. When they’re lightly browned, you know they’re ready for the next step.
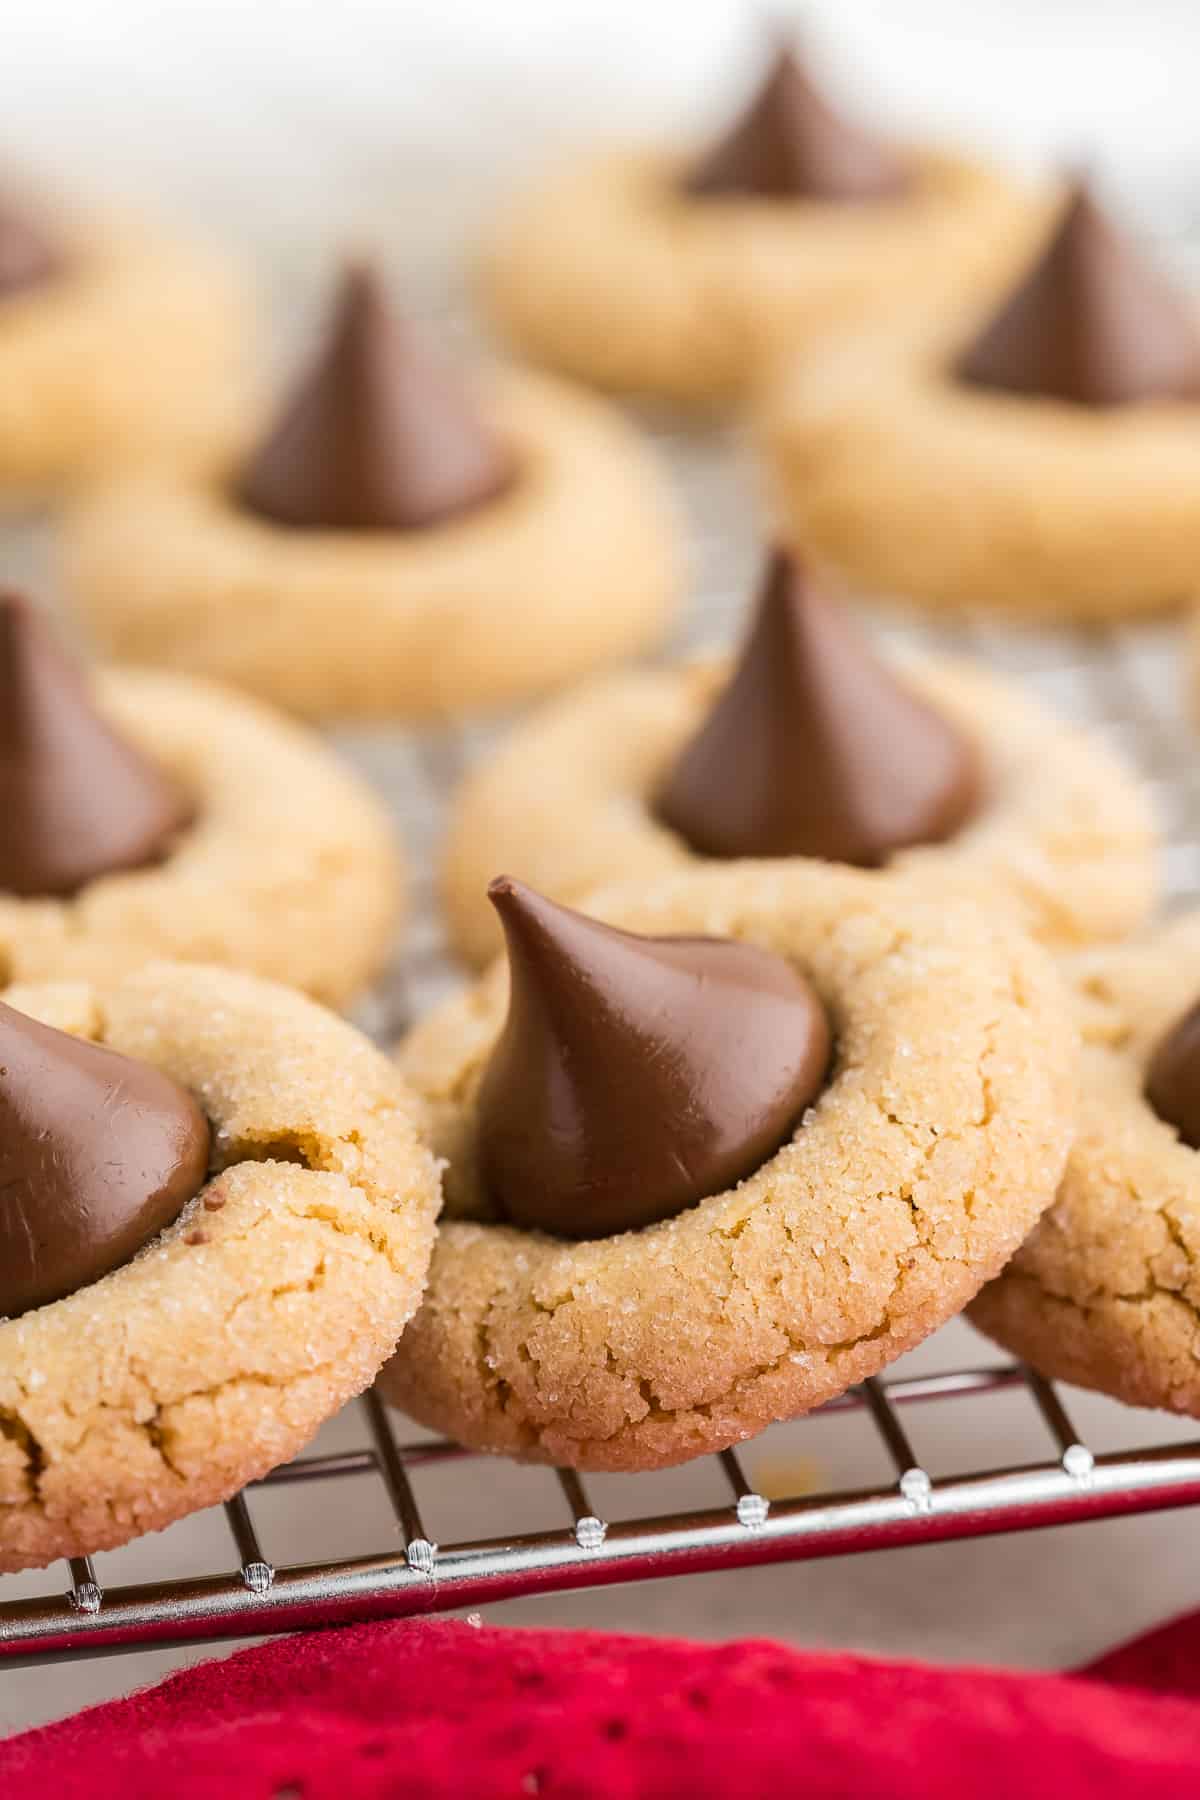
Step 6: The grand finale – gently press a Hershey’s Kiss into the center of each cookie. The cracks around the edges are a sign you’ve nailed the recipe!
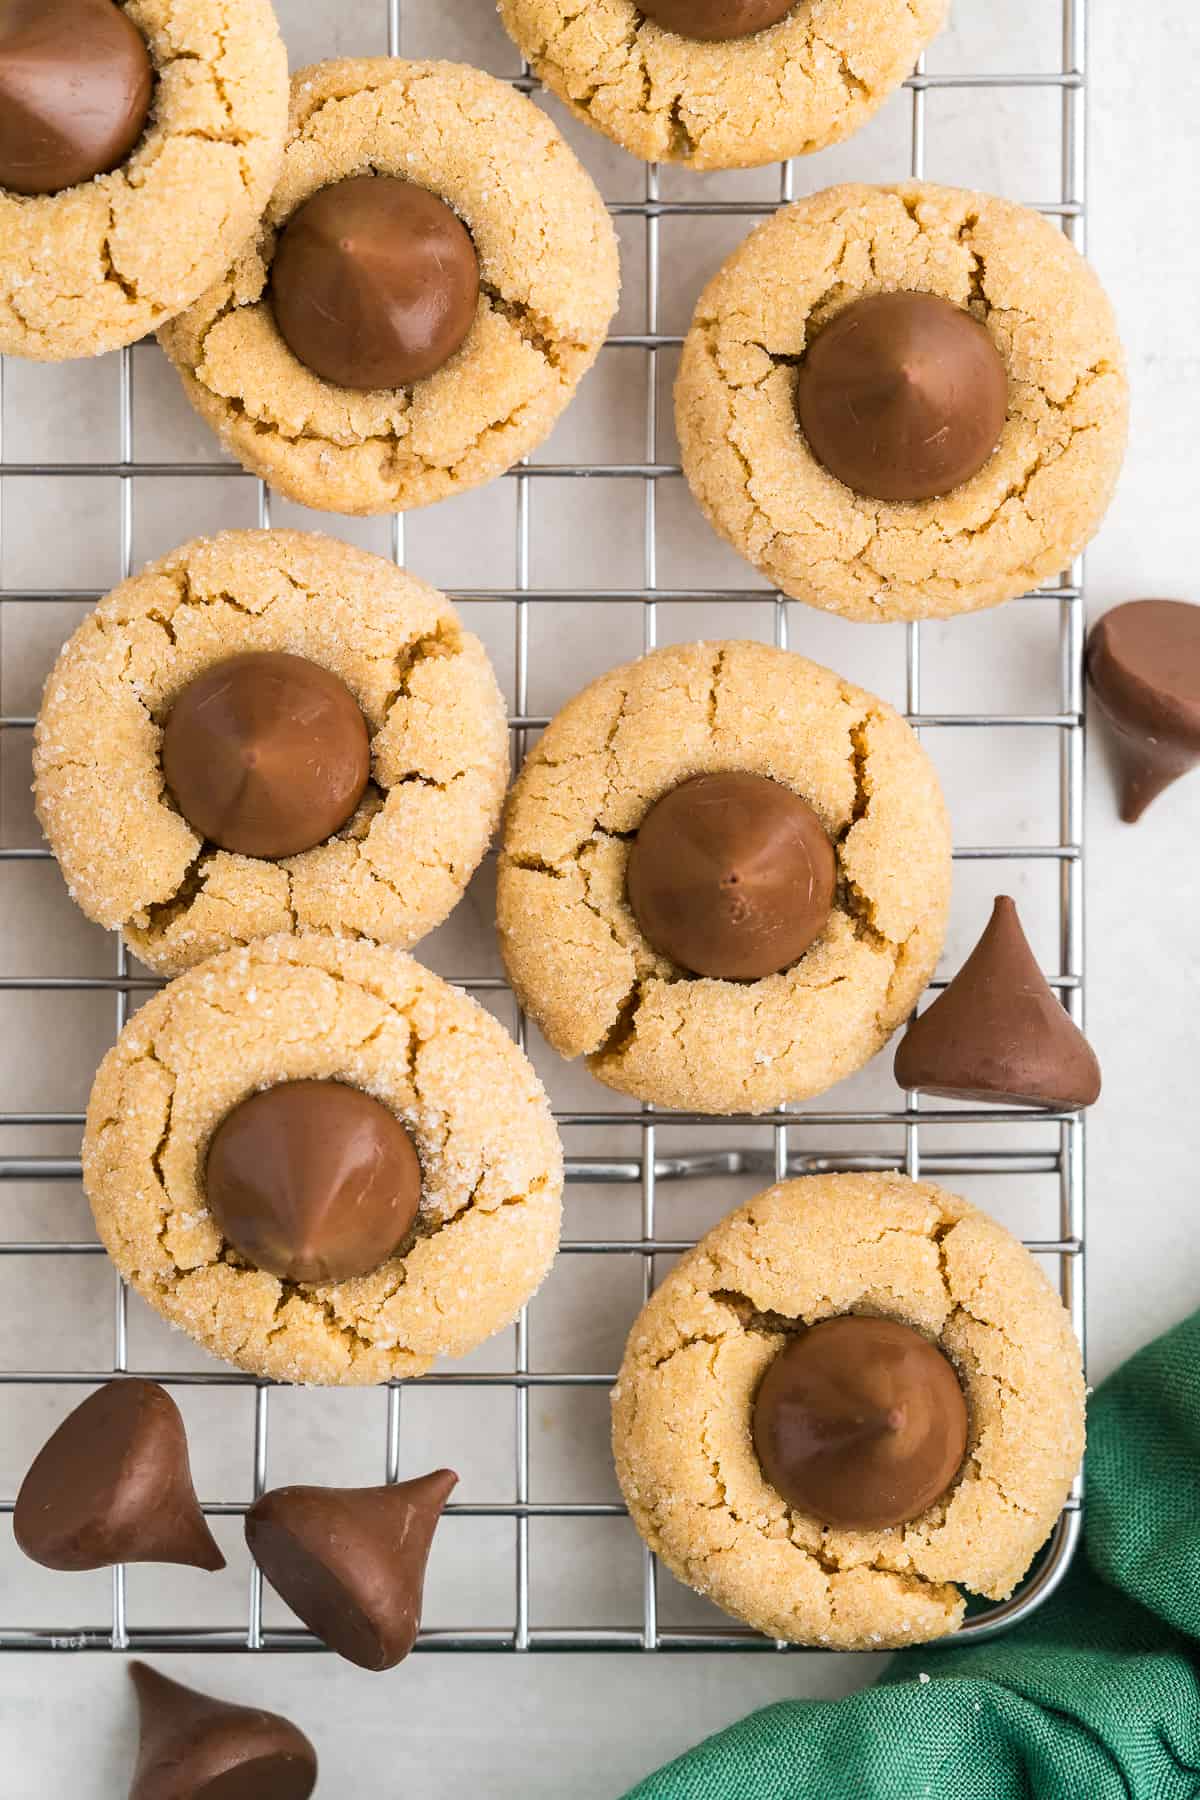
Peanut butter blossoms will take a few hours to fully solidify and set up. If you need to take them to an event, you may want to bake them several hours ahead (at a minimum) or the night before, to prevent a melty chocolate mess.
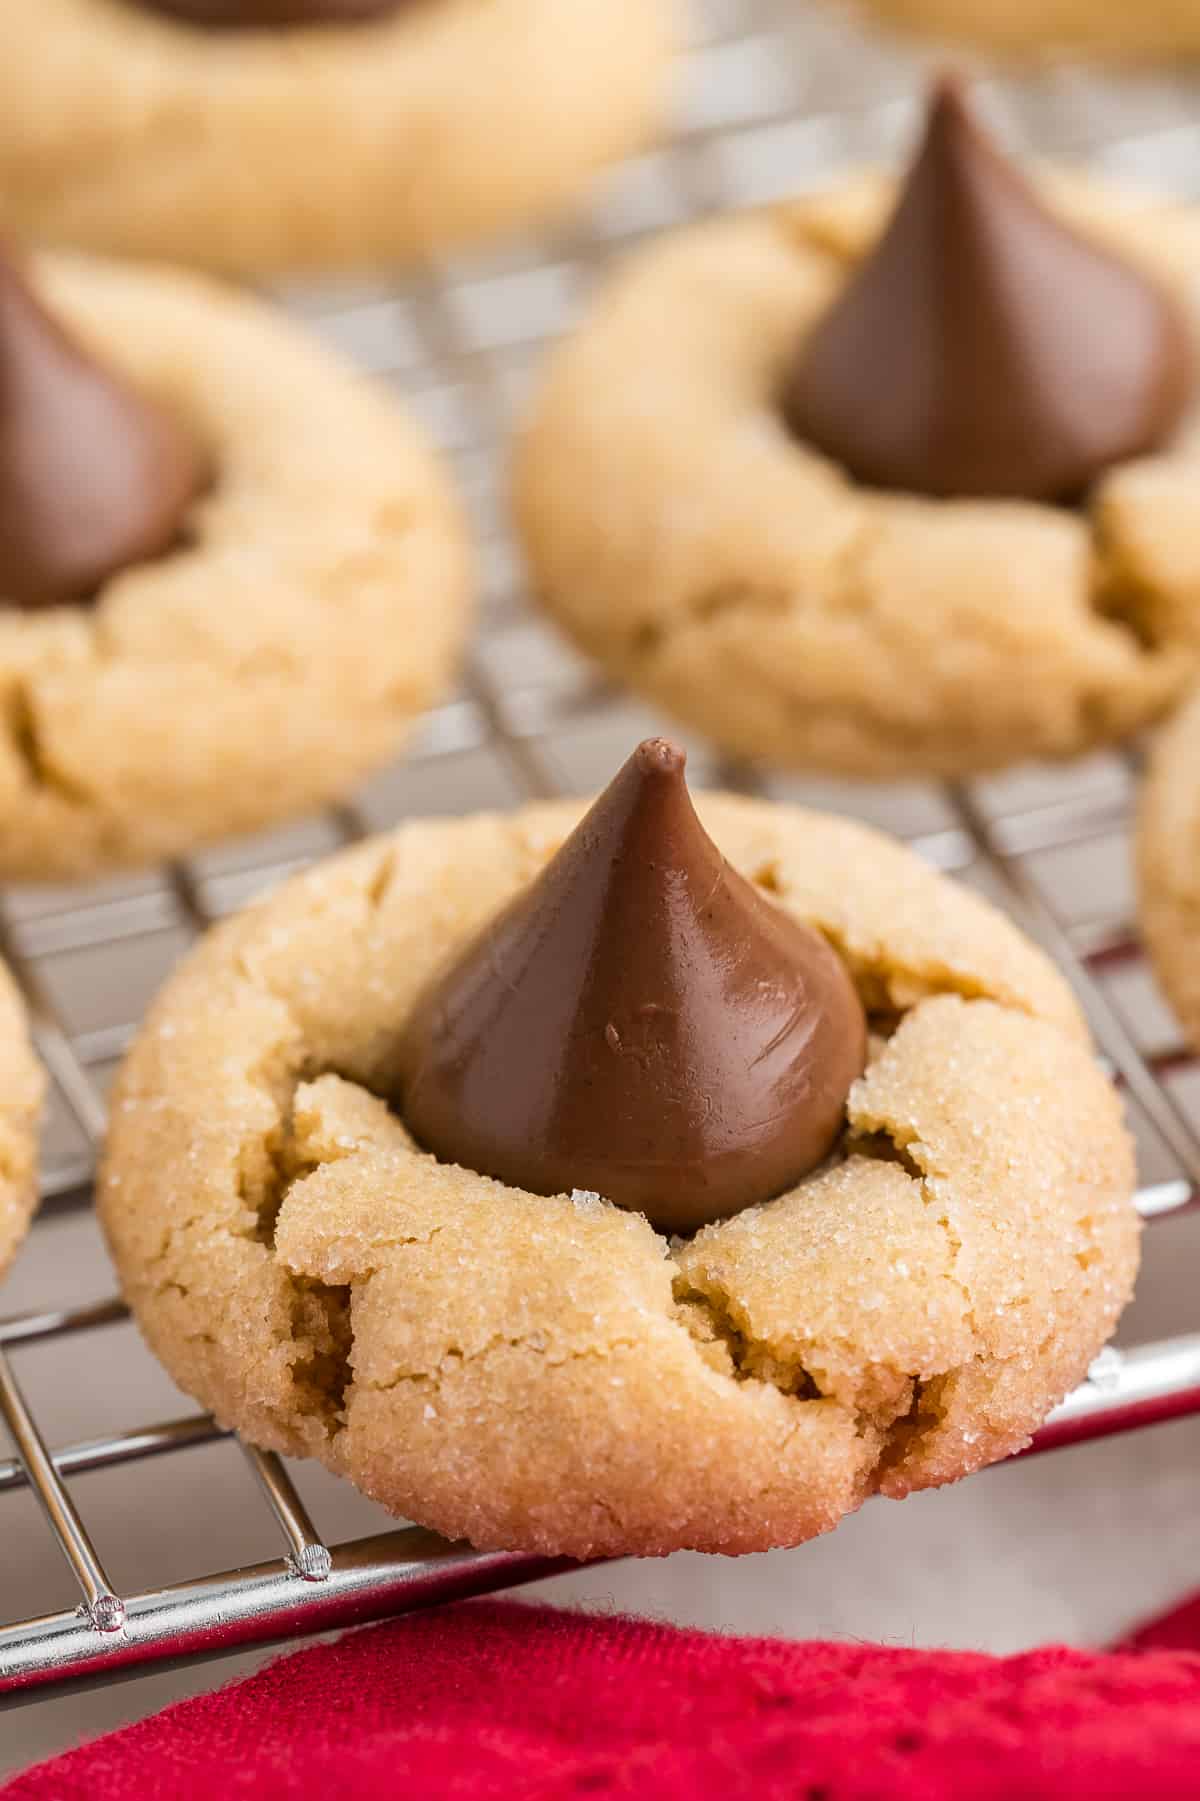
Why These are the Best Peanut Butter Blossom Cookies
What makes this the best peanut butter blossoms recipe? The delicate balance of textures – that chewy cookie foundation crowned with a soft Hershey’s Kiss – makes every bite a dance of flavors. It’s a sweet yet slightly salty symphony in your mouth. These are truly iconic Christmas cookies!
After all, this is the recipe from the Hershey’s Kisses bag!
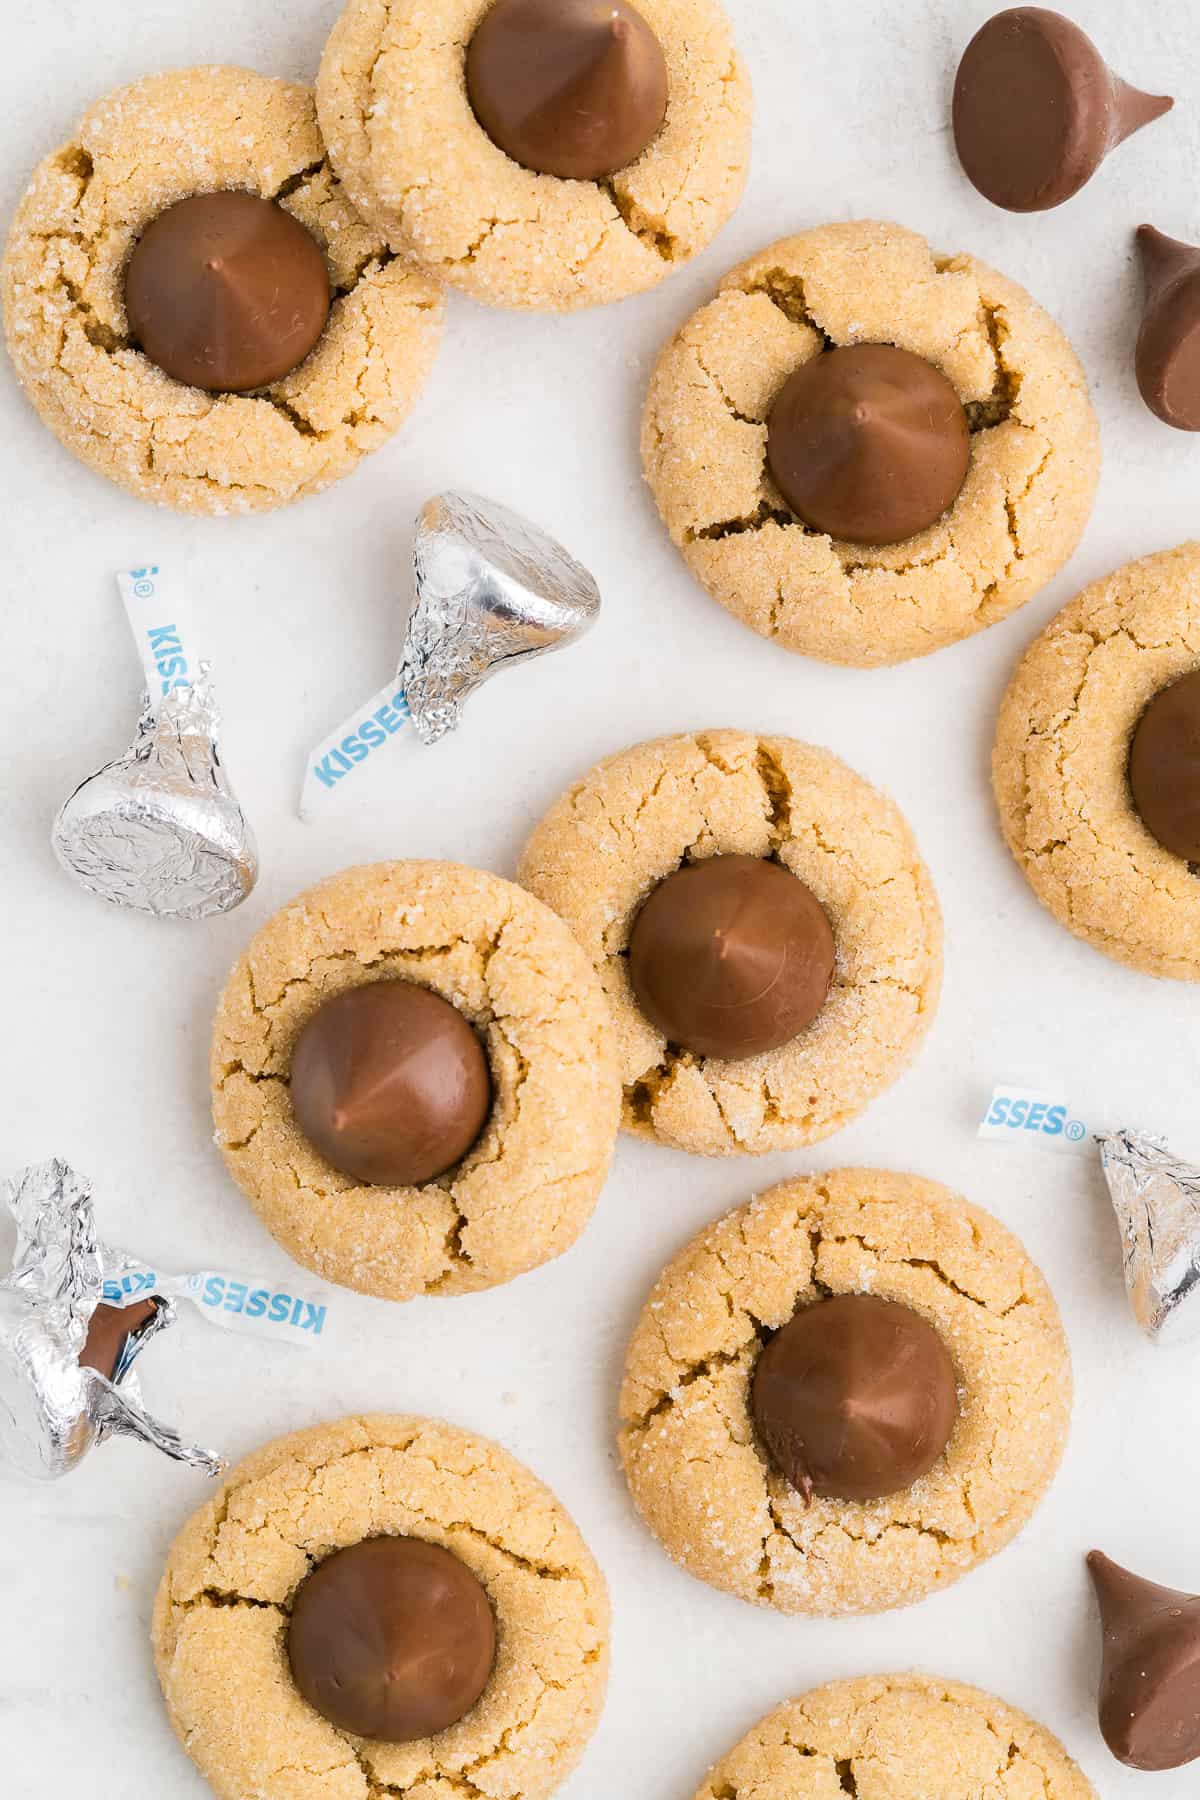
Can I Freeze Peanut Butter Blossoms?
You bet! Once your cookies have cooled down entirely, store them in a freezer-friendly container.
Place them in a single layer, and if you’re stacking, use parchment paper between the layers to avoid sticking. These frozen delights will be good for up to three months.
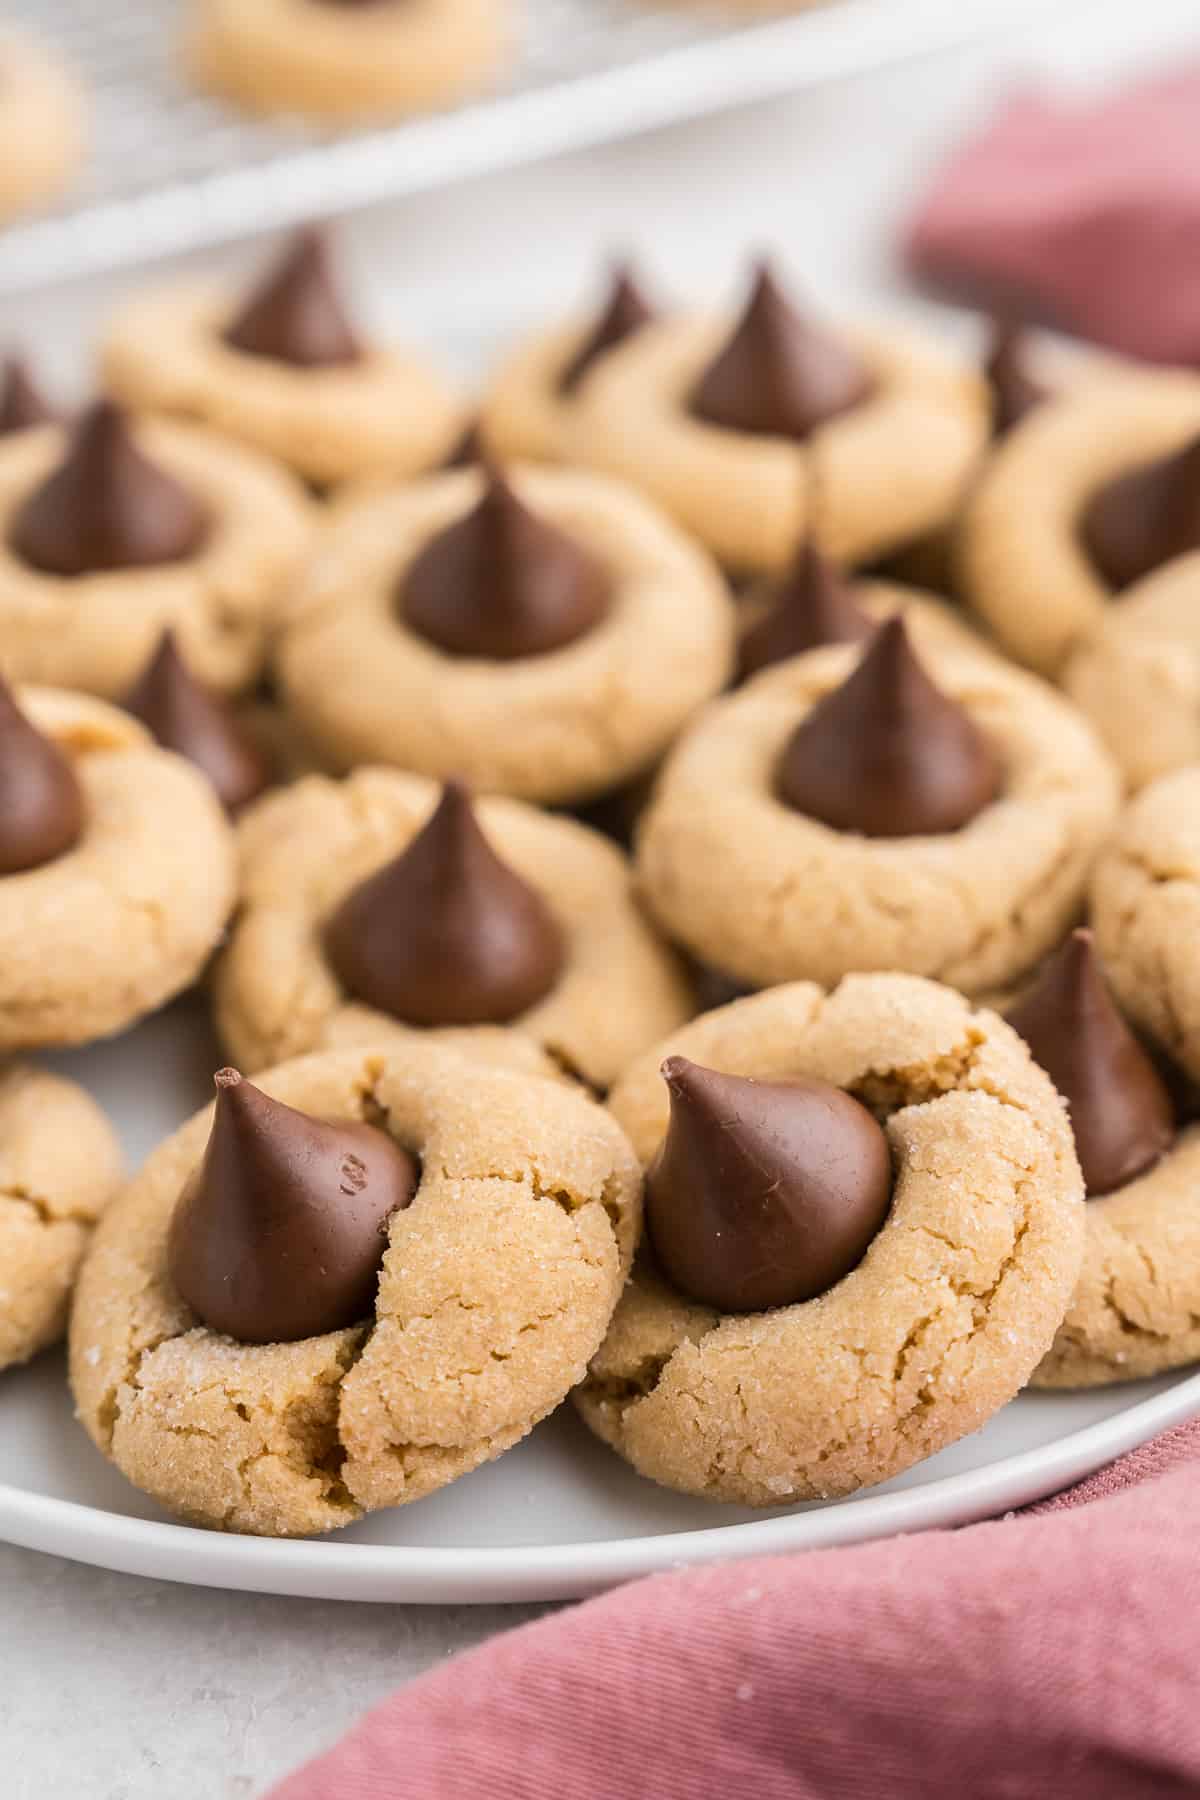
Storage Instructions
Freshly baked Hershey’s peanut butter blossom cookies should be stored in an airtight container. This will keep them soft, chewy, and fresh.
Room temperature is best, and they’ll happily stay delicious for about a week. If you choose to refrigerate them, they can stretch their freshness up to two weeks.
Baking Tips
When preparing this peanut butter blossoms recipe, ensure all your ingredients are room temperature. This simple trick makes the mixing process smooth. As your cookies bake, keep a keen eye on them, especially during the final minutes.
Perfectly browned is the goal, not overcooked. And here’s a gold tip: after baking, allow the cookies to cool slightly before pressing in the Hershey’s Kisses. This ensures they sit snugly.
Frequently Asked Questions
Why did my cookies spread too much? This could be due to overly softened butter or an overzealous mixing. Room temperature butter is your friend.
Can I use chunky peanut butter? Absolutely! If you love a bit of texture, chunky peanut butter is a great choice.
Why are my peanut butter blossom cookies dry? Over-baking might be the sneaky culprit. Watch those final minutes closely.
Can I use a different flavor of Hershey’s Kiss? Of course! In fact, the candy cane Hershey’s Kisses add a lovely festive touch.
How do I know when my cookies are done? Aim for a light golden-brown hue. Remember, the residual heat continues cooking them even out of the oven.
How do I keep the Hershey’s Kisses from melting? I recommend keeping your unwrapped Hershey’s Kisses in a bowl in the refrigerator until the last minute.
Equipment Needed for This Recipe
- Mixing Bowls: The unsung heroes, essential for blending your peanut butter blossom ingredients harmoniously.
- Whisk: This tool ensures no lumps and bumps in your dry mix.
- Baking Sheets: A must-have for cookies to ensure they bake evenly.
- Small Cookie Scoop: I love this OXO brand small cookie scoop. It gives me the perfect 1″ dough balls.
- Cooling Racks: This ensures your cookies cool evenly, maintaining their perfect texture.
And there we have it, friends! Embark on this delightful baking journey and share the joy of peanut butter blossoms with your loved ones. I truly hope you love this recipe as much as my family does.
Happy baking, and as always, Merry Christmas from my kitchen to yours!
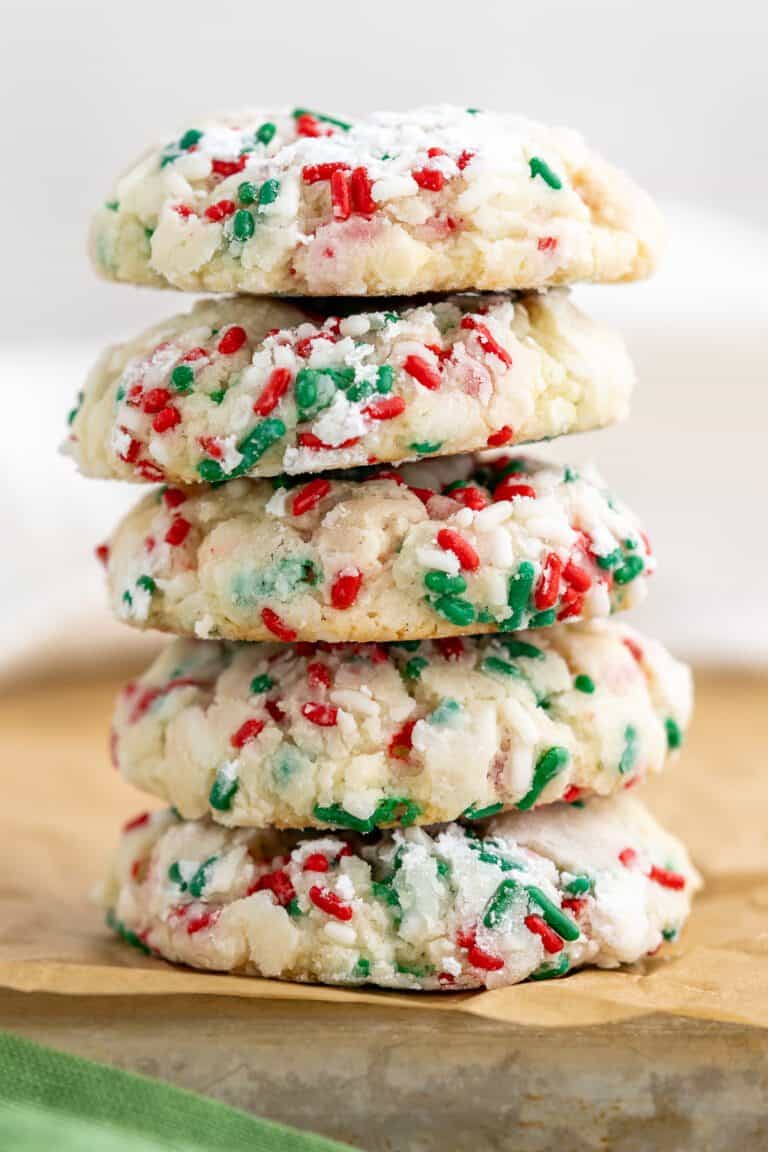

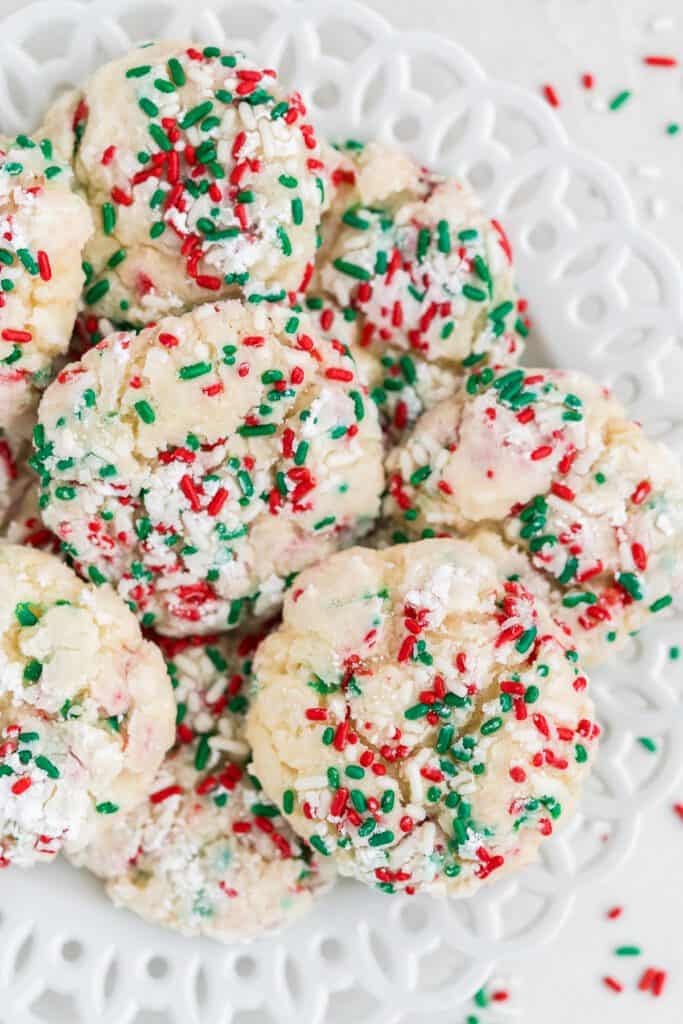


I am just getting started baking for Christmas. Going to make the peanutbutter blossoms. Also wante to make the
Christmas Goody Butter cookies to.
Wonderful, Judy. Let me know how they turn out. 🙂
This is one of my very favorite cookies to make and bake. I do a variety for Christmas so I can share with my neighbors. They love the goodies I bake every year. I have even won a blue ribbon at the county fair with these little gems.